
Getting Started
Once you’ve been invited to be a content editor for the website, the welcome email will prompt you to create an account. Once you have set up your account, you're ready to login to the Webflow Editor!
Tip: Bookmark this guide for easy access in the future.
Accessing the Webflow Editor
To access the Editor, add “?edit” to end of your website's URL.
- Example: www.project607.com/?edit
From here, you can login using the credentials you created when invited.

Editor Toolbar
Once you’re in the Editor, a toolbar will appear at the bottom of the page, where you can easily access the Editor tabs. The tabs and their functions are listed below.
Pages

Here you can edit page information and metadata, including customizing how your website appears in search results. Two types of pages will be visible: static and dynamic. Dynamic pages are templates that are populated by the data in the corresponding Collection.
Learn more about page settings here.
Collections

This contains all of your Collections, which are the primary source of content for your CMS.
Forms

View and download form submissions made via your website’s on-page forms.
Settings icon

Manage your Editor account settings.
Help & Support

This tab contains quick access to Webflow documentation and common questions about the Editor
Logout

Logs you out and returns to the normal view of the website.
Publish
.webp)
This button commits all your changes and publishes them to the world wide web. Any change you make before clicking "publish" will be staged for publish, unless you mark it as a "draft"
You can review pending changes next to the Publish button
Before publishing, please read Using the CMS for caveats and best practices.
On-page Editing
You can make edits directly on the page for certain elements.
When you hover over an element, a circle will pop up if it is an editable element.
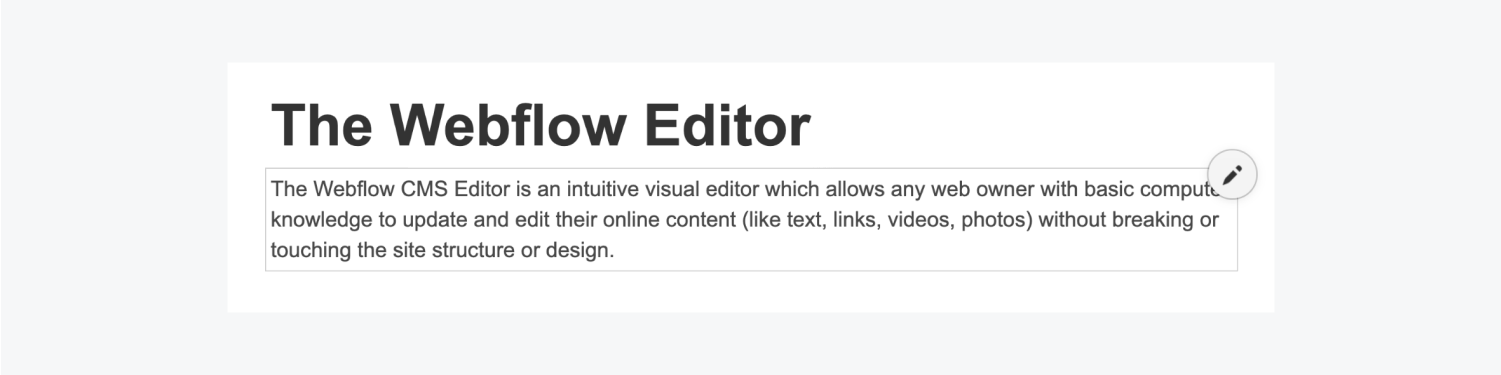
Text Formatting
Click the pencil icon next to any text to edit the copy.
- Highlight text to see formatting options such as bold, italic, hyperlink, styling, etc.
Images
Click the image icon in the top right corner of an image to swap it out.
Be mindful of image size. When in doubt run the image through an image compressor such as squoosh.app
Buttons & Links
Click the gear icon to edit links. The dialog looks like this:

You can set links to specific URLs, pages on the site, sections on the site, email addresses, etc.
Using the CMS
What is a CMS?
A CMS, or Content Management System, as the name suggests, allows you to manage the content of a website, without having to worry about impacting the design, layout or functionality that the developer has created.
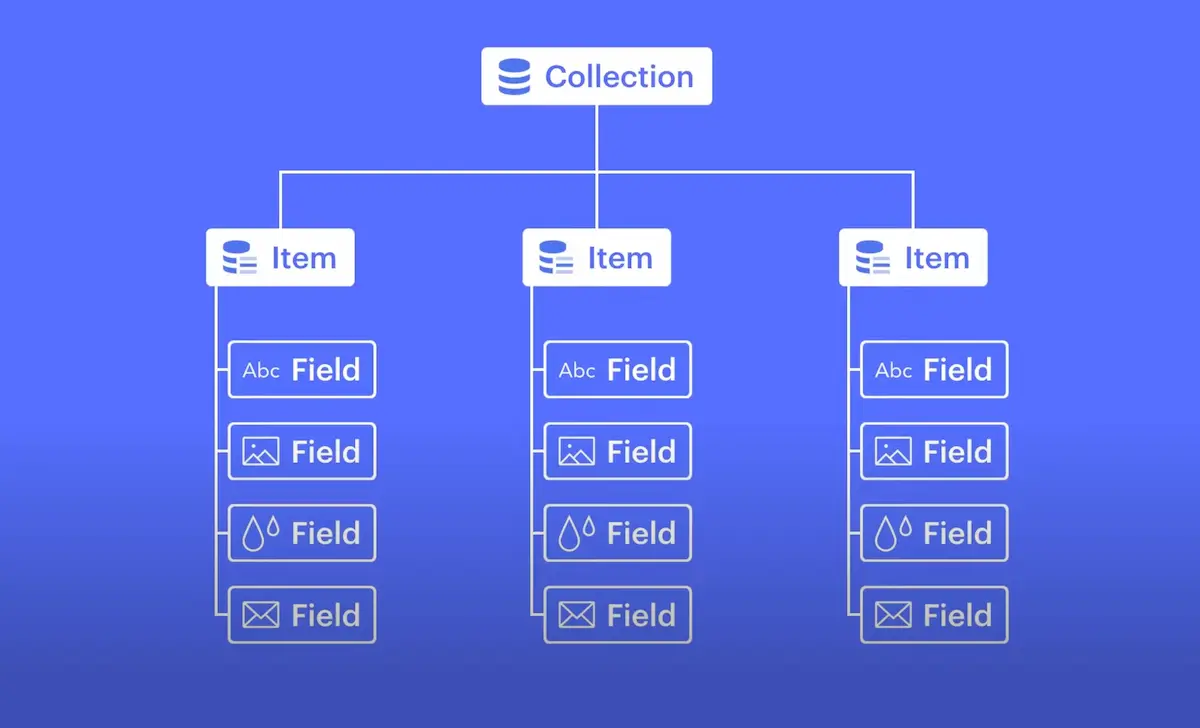
Along with on-page editing, Webflow's CMS really shines with what it calls Collections.
Access your site’s collections through the Collections tab
Choose a collection to view all of the Collection items that are currently published, drafted, or archived.
You can edit existing items by clicking on them or creating new items by clicking the + New button and filling out the item’s various fields, which were set up during the site’s development.
Once you’ve input content or updated the fields of the collection item, you have a few options.
- Create a new item or save an existing item. It will be staged to publish and go live on your site next time you publish it.
- Publish your item right away (without waiting for the next site-wide publish to take place).
- Sometimes there are incomplete changes that other team members, or the developer, are making parallel to changes you are making. For this reason, the best practice is to publish using the CMS item's "Publish" button, NOT the universal publish button, to avoid accidentally publishing incomplete information.
- Save as Draft if you aren’t quite ready for the item to go on the live site.
- Cancel to discard changes.
Bulk Content Management
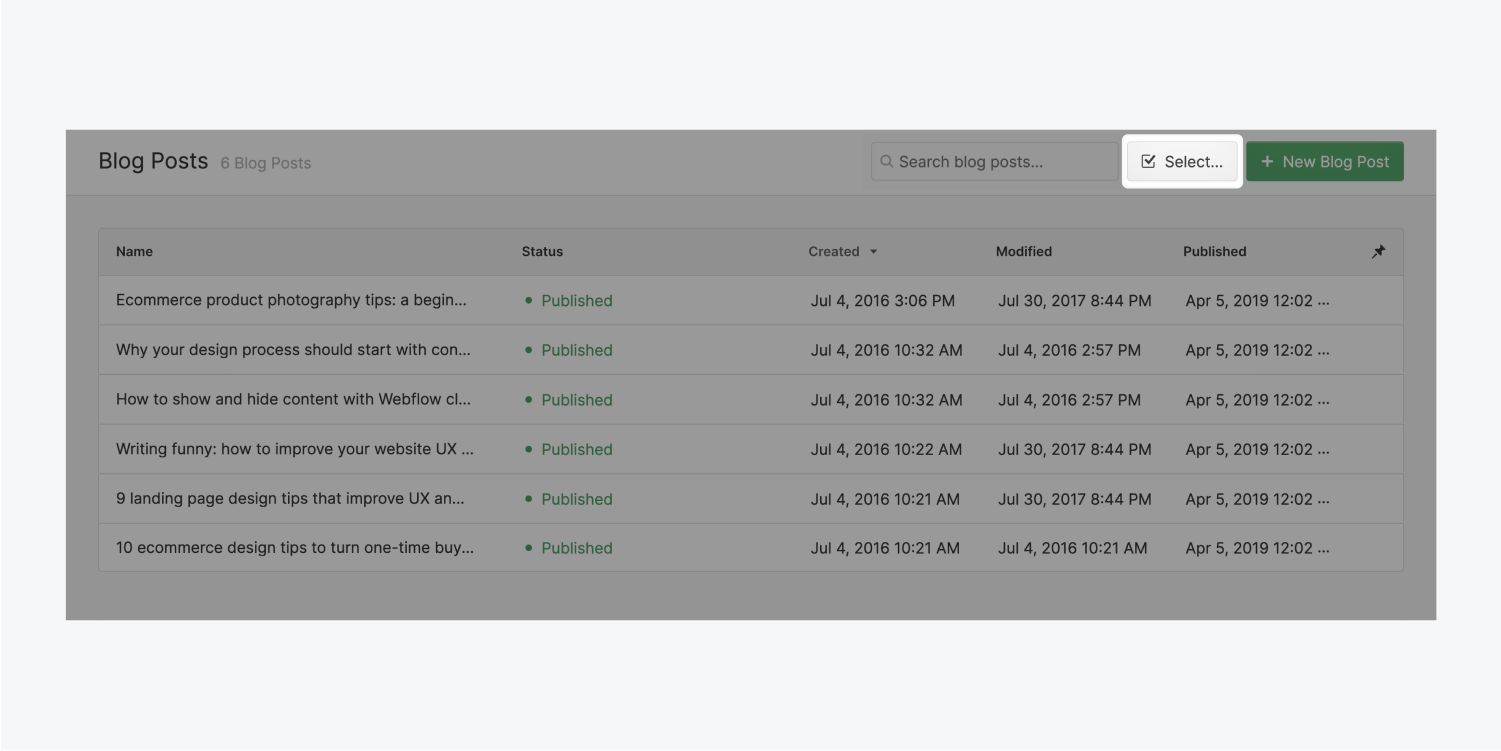
From the Collection Panel, you can delete, archive, or change the status of several items at once.
- Click the “Select” button
- Select the items you want to manage
- Choose the action you want from the top toolbar
Page Settings
From the “Pages” panel you can manage your pages and their settings such as SEO, metadata, titles and descriptions, etc.
To access the settings of a page:
- Open the Pages tab in the Editor panel
- Hover your cursor over a page in the list and click “Settings”
Search indexing settings
In the page settings you can manage settings that impact your site's indexing on search engines.
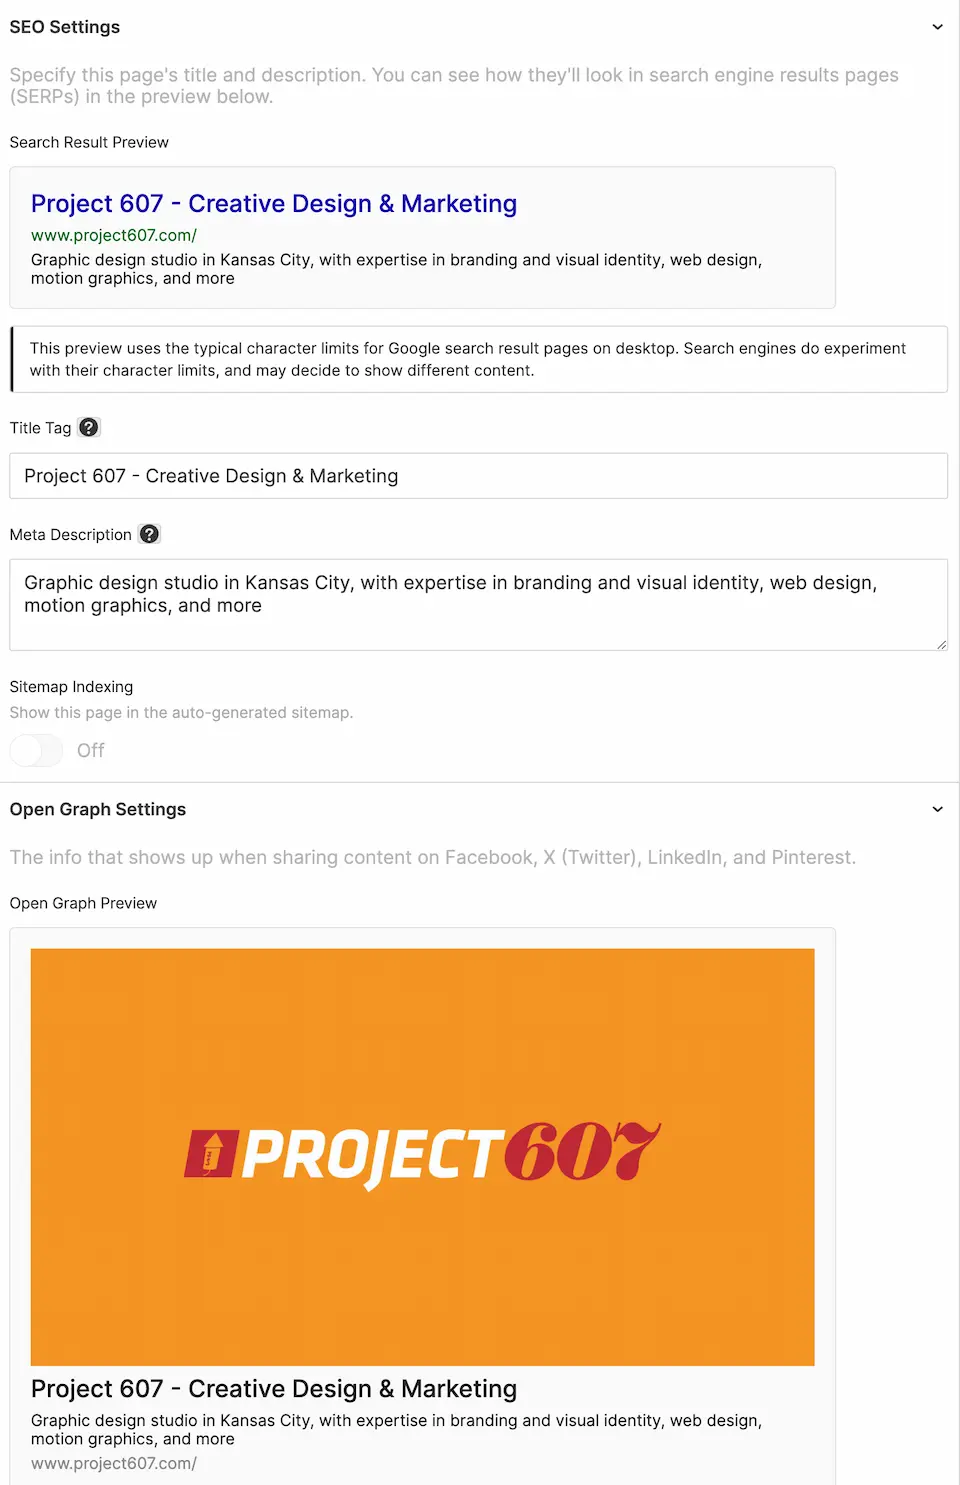
- Meta title tag
- Meta description
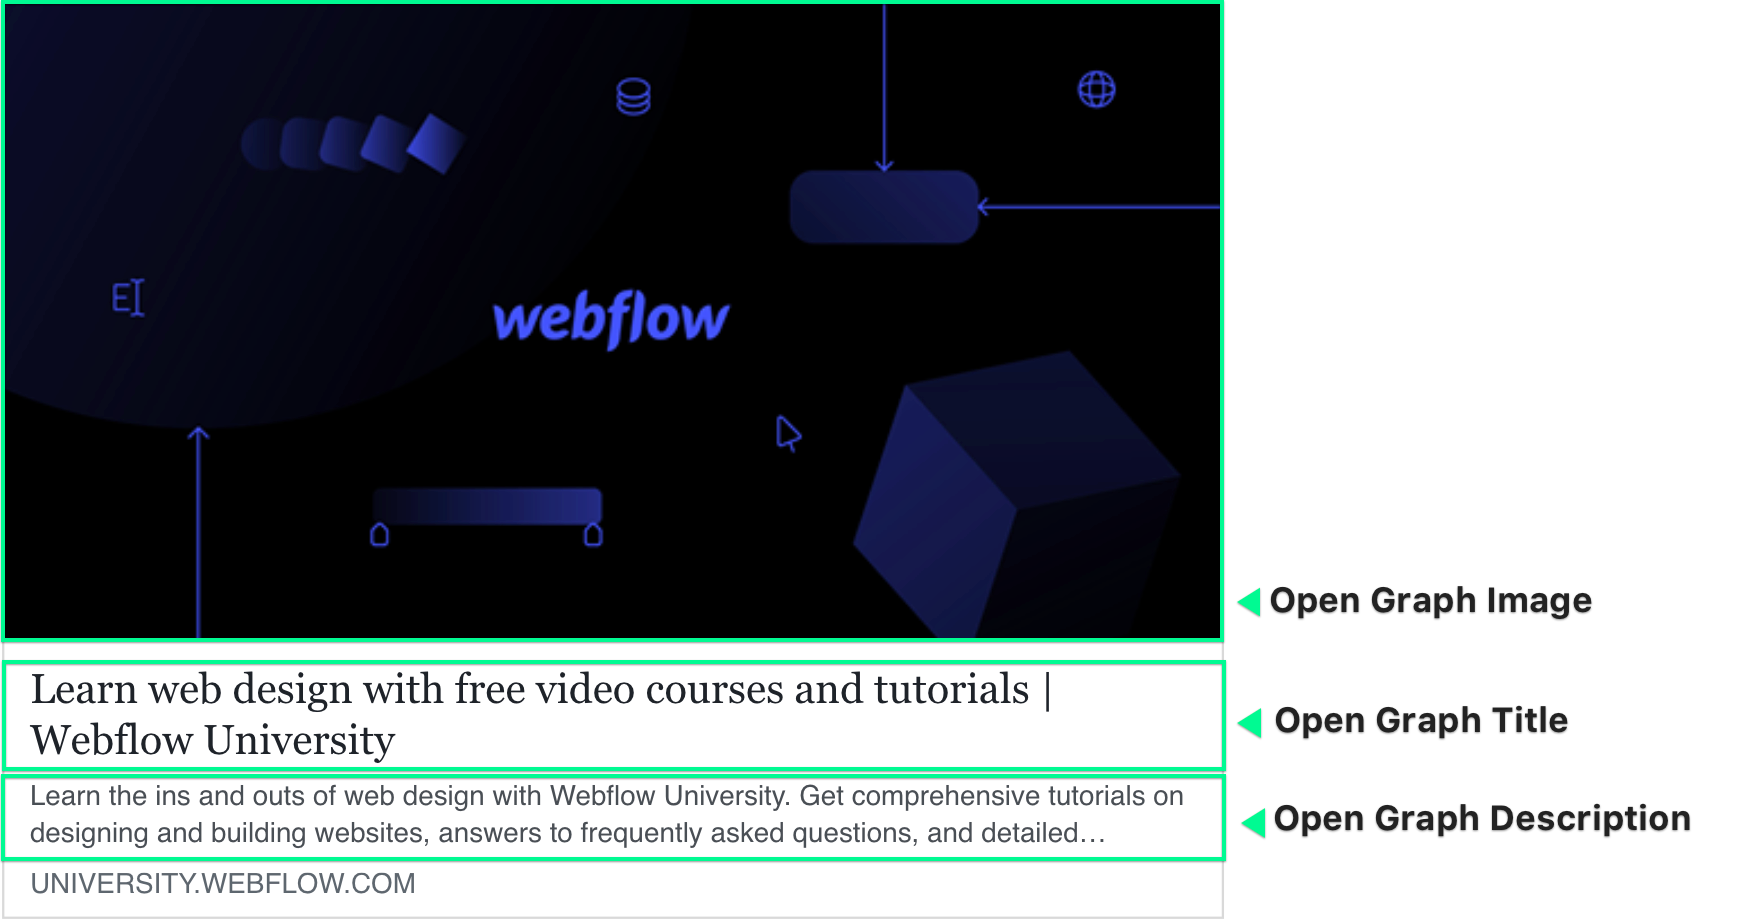
OpenGraph Settings
These settings indicate what appears when you share your website with someone over facebook, twitter, SMS text, etc. They will be set initially, during development, but you can update them to better reflect your messaging at any time.
Tip: Bookmark this guide for easy access in the future.
Still have questions?
Please don't hesitate to reach out to Project 607 if you have any further questions.